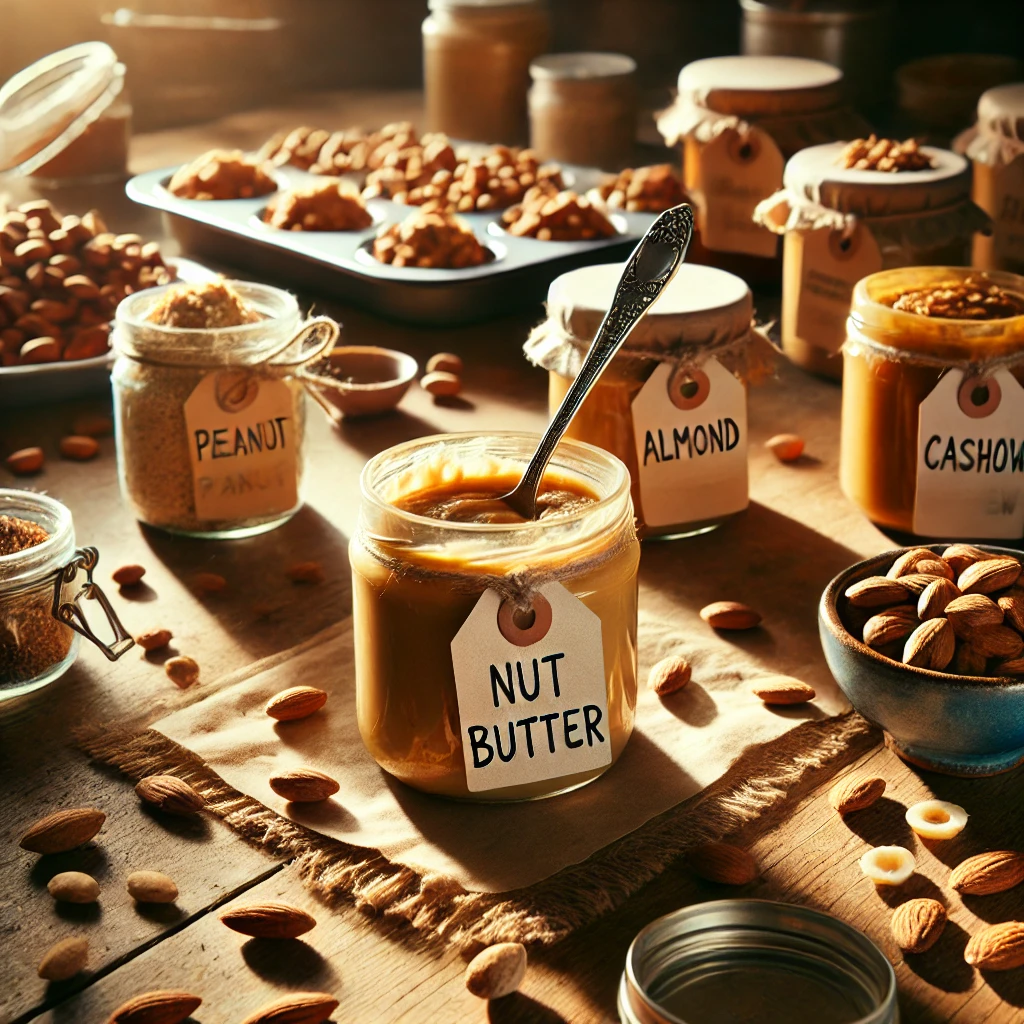
Finding high-quality vegan alternatives to traditional spreads and sauces can sometimes be a challenge, but homemade nut butters are a versatile and tasty option that fits perfectly in any plant-based kitchen. Whether you enjoy peanut butter on toast, almond butter in smoothies, or cashew butter in sauces, creating these spreads from scratch is simpler than you might think. Homemade versions are often free from preservatives, refined sugars, and additives, making them both healthier and more flavorful than many store-bought options.
Why Homemade Nut Butters Are Worth Trying
The main advantage of making your own nut butters is control over the quality and taste. You can choose organic, high-quality nuts and decide exactly how much salt or sweetener you want to add. This flexibility helps you tailor the spreads to your personal preferences or dietary needs, especially if you prefer minimal processing. In addition, homemade nut butters are incredibly cost-effective in the long run. Buying bulk nuts can be more economical than purchasing prepackaged jars, and you will also avoid hidden oils, sugars, and other filler ingredients often found in commercially prepared products.
Choosing the Right Nuts
Almost any type of nut can be transformed into a creamy spread, which means you have a wide range of flavor profiles to explore. Peanuts, almonds, cashews, and hazelnuts are common favorites due to their smooth texture when ground. However, walnuts and pecans also create rich and unique spreads, especially if you enjoy a slightly more robust flavor. You can even experiment with seeds like sunflower or pumpkin for alternative nut-free options. Combining different nuts and seeds is another way to develop your own signature flavors, giving you endless possibilities to discover.
Basic Equipment for the Best Results
A high-powered blender or food processor is the most important piece of equipment you will need. Although a regular blender can handle softer nuts like cashews, a stronger machine reduces the time and effort required to achieve that silky smooth consistency. A baking sheet is useful for roasting the nuts, which can bring out deeper flavors and make blending easier. You will also need an airtight container or jar for storing your fresh nut butter once it is done. This can be a glass jar with a secure lid or any reusable container that keeps air out and preserves freshness.
Roasting Your Nuts
Roasting nuts before blending intensifies their flavor and allows them to break down faster. Spread your chosen nuts in a single layer on a baking sheet. Place them in an oven preheated to 350°F (175°C) for about 8 to 12 minutes, stirring halfway to ensure even browning. Keep an eye on them to prevent scorching. Once you can smell the rich, warm aroma of roasted nuts, remove them from the oven and let them cool slightly. Roasting is an optional step but is highly recommended if you want a more pronounced flavor and a creamier final product.
Step by Step Method for Homemade Nut Butter
Place the roasted (or raw) nuts into your blender or food processor. Begin by pulsing a few times to break them up, then blend continuously. You will notice the texture go from crumbly to thick paste, and with time, it will smooth out. It might be necessary to pause occasionally to scrape down the sides so that everything is evenly blended. The entire process can take anywhere from 5 to 15 minutes, depending on your equipment and the type of nut. Once the butter reaches your preferred consistency, you can add a small pinch of salt or a bit of natural sweetener like maple syrup. Some people also like to include a splash of neutral oil, such as grapeseed or coconut oil, for extra creaminess, but this is entirely optional.
Flavor Variations and Storage
Experimenting with flavors is a fun way to elevate your homemade nut butters. You can stir in cinnamon, cocoa powder, or even a pinch of cayenne pepper for a spicy kick. Another popular combination is blending almond butter with a touch of vanilla extract and a drizzle of maple syrup for a subtly sweet dessert spread. Regardless of how you flavor your final product, always store it in an airtight container. Keep it in a cool, dark place for up to two weeks or in the refrigerator for longer shelf life. If you notice any separation where the natural oils rise to the top, simply stir the butter before use.
Simple Peanut Butter Recipe
Ingredients
- 2 cups unsalted peanuts (raw or roasted)
- Pinch of salt (optional)
- 1 teaspoon neutral oil such as grapeseed or coconut (optional)
- Sweetener to taste (maple syrup or agave syrup work well if desired)
Instructions
Spread peanuts evenly on a baking sheet and roast them in a preheated oven at 350°F (175°C) for about 8 to 10 minutes if they are raw. If you already have roasted peanuts, you can skip this step. Allow them to cool slightly.
Transfer the nuts to a high-powered blender or food processor. Pulse a few times to break them up before blending continuously. Pause occasionally to scrape down the sides. Continue blending until the peanuts transform into a smooth butter. This could take several minutes, so be patient.
Add a pinch of salt if you want a savory finish. For a sweeter variation, include a small amount of maple syrup or agave. If you prefer a creamier consistency, add a teaspoon of neutral oil, though many people find it unnecessary. Blend for a few more seconds to incorporate any additional ingredients, then transfer your peanut butter to a clean, airtight container. Store in the refrigerator to extend its shelf life and give it a quick stir if the oils separate over time.